The First Step
You must Download the game before continuing.
Alright let's goRage of Mages 2 Server
This guide will be aimed at windows users. Rage of Mages II Necromancer is over 20 years old and can be finnicky getting working on modern windows. This means Wine setup on Linux/MacOS will not be covered.
First thing we need to do is to unzip the archive we downloaded from mediafire at the top of this page. Right click the archive and select "extract all". Once that is done copy the directory, then navigate to the C drive. Then Paste. Below is a video of this process
The last thing we need to do is create a desktop shortcut to launch the game from. This can be accomplished by opening the "Rage of Mages II Necromancer" folder and right clicking "rom2.exe" and selecting "Send to" then "Desktop - create shortcut". By default the game will run at 800x600 resolution, the maximum resolution this game can run at is 1024x768. To set the game to run in 1024x768 mode do the following.
Next we are going to try and keep windows defender from causing problems with the game by interfering with it when it launches ect.
We will cover how to do with with Windows Defender, but it should be similar with other antivirus applications.
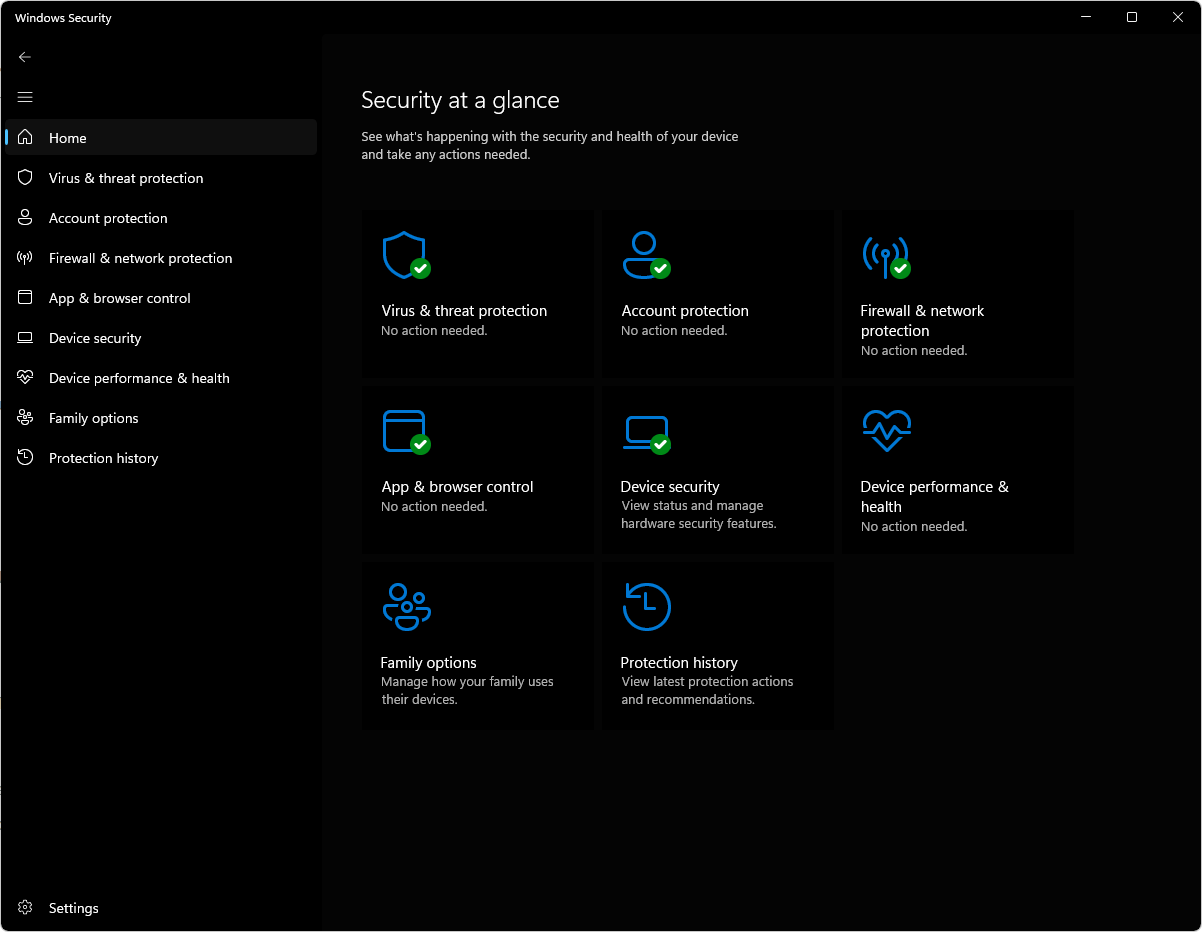
To start open up windows defender/windows security center and select "Virus & threat protection"
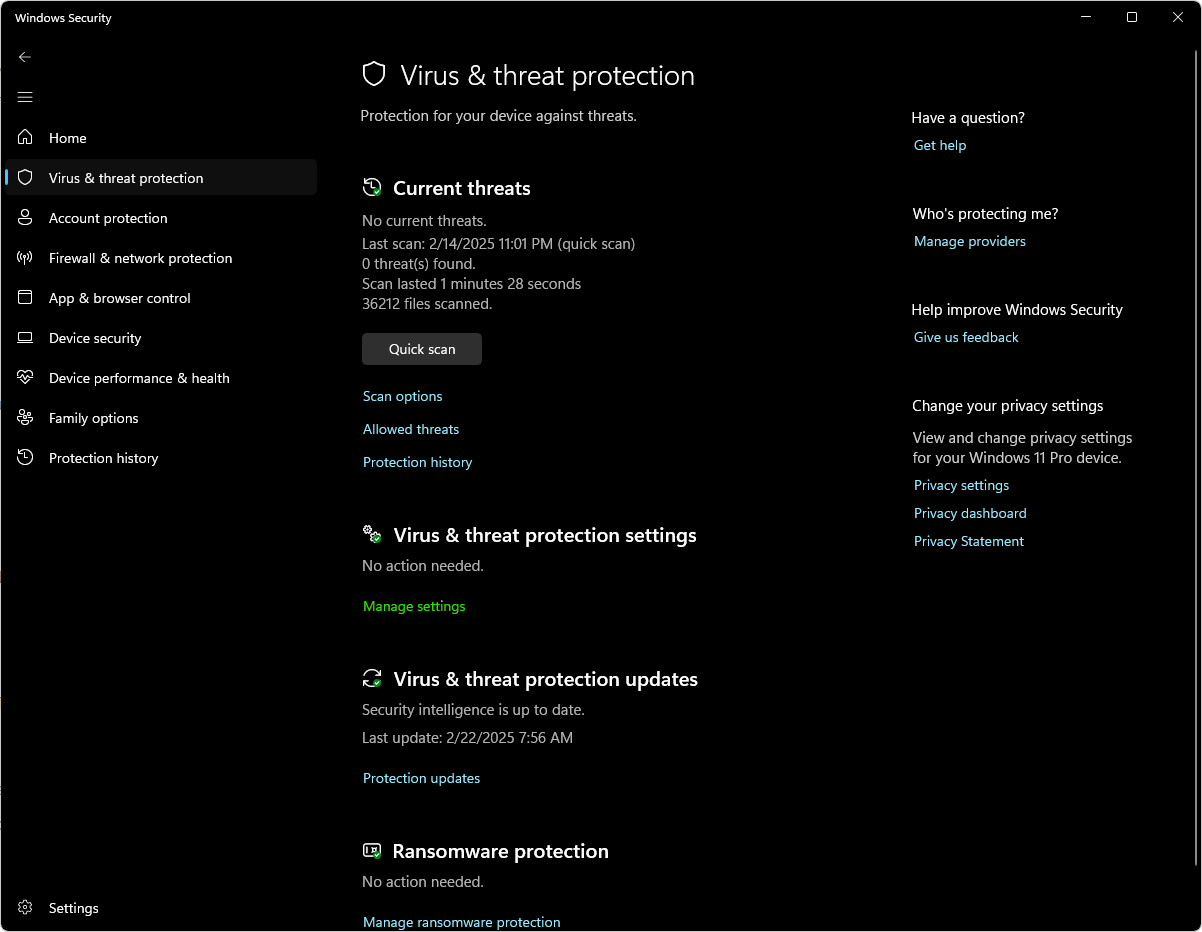
Then look for "Virus & Threat Detection Settings" and select "Manage settings"
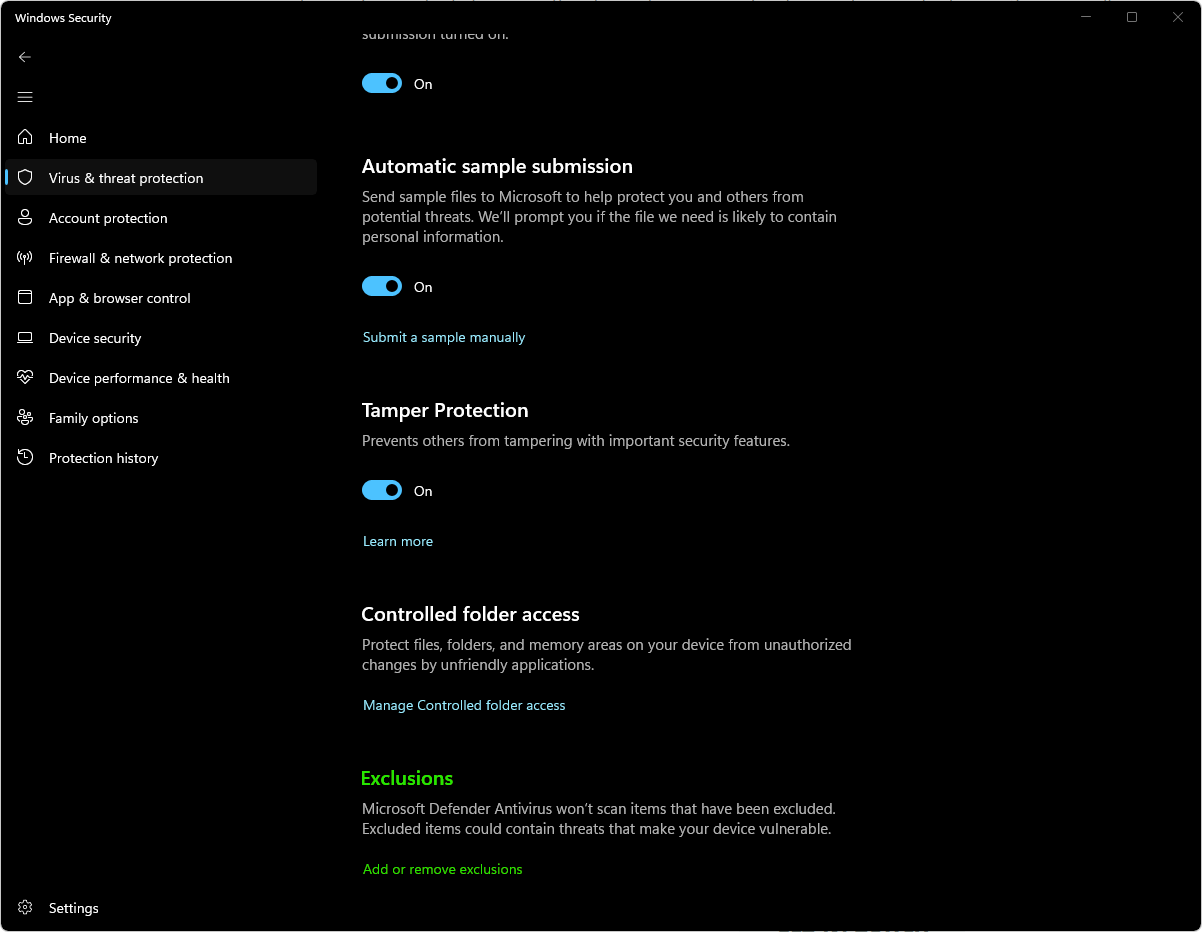
Scroll down until you see Exclusions then select "Add or remove exclusions"
Then select "Add folder", in the open window navigate to "C:\Rage of Mages II Necromancer" and select the folder then click open in the bottom right.
Next select add an exclusion, but this time select "File" option, navigate to "C:\Rage of Mages II Necromancer" and select rom2.exe then click Open.
This as well as keeping the program in "C:\*" should keep antivirus programs from causing game crashes.
The next section will cover how to connect to the server. Due to some limitations with the game we will need to use a VPN to connect to the server.
We will cover the VPN setup, how to request credentials and finally how to connect to the server.
First connect to the discord with the following link.
                                    Now that we are connected to the "safe space" discord server there are a few tasks we need to complete.
                                    First we need to reach out to an admin of the server to request access.
                                    -HAT credentials
                                    -VPN credentials
                                    -Server IP


                                    Please format the message like this:

                                        Request for HAT credentials
                                        Username: [username]
                                        password: [password]
                                    After the account is successfully created you will recieve a reply with the following information:
                                    Confirmation that the account is created with the above credentials and a vpn configuration file.